When you purchase through links on our site, we may earn an affiliate commission. Here’s how it works.
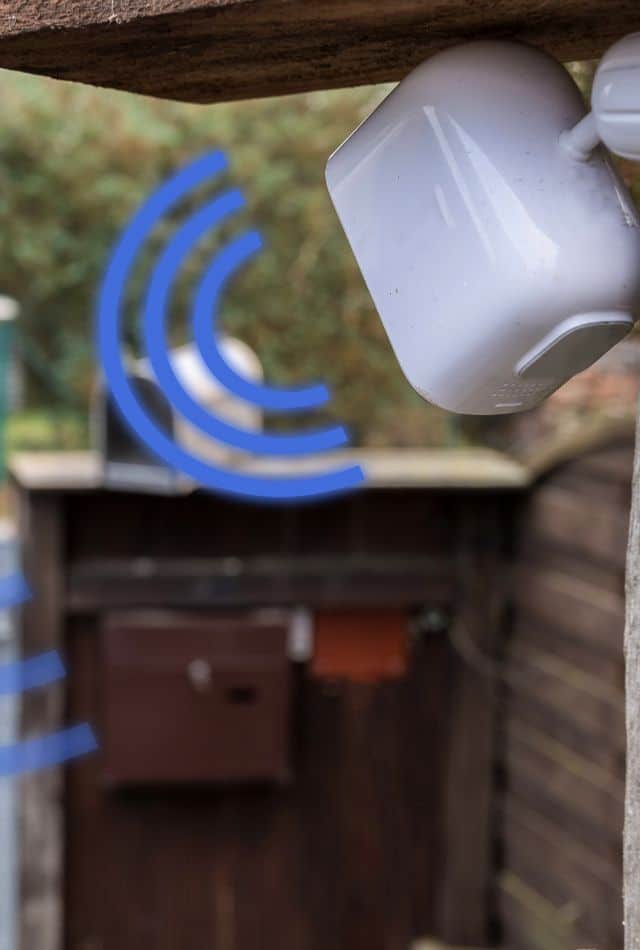
Besides offering comprehensive security features, smart Wi-Fi cloud cameras allow you to automatically upload pictures to a computer or webspace from any location, provided you have a stable internet connection. These cameras are particularly useful because they typically have a wireless line of sight ranging between 250 and 500 feet, which can work within 100 to 165 feet in closed environments.
These cameras excel in monitoring movements in the surveilled area and utilize the Wi-Fi network to transmit video to a smartphone or cloud storage. By connecting to a free application downloaded on your mobile device, you can review footage and make changes to settings with simple installation.
Understanding the Wi-Fi compatibility of these cameras is crucial before diving further into the topic. They are compatible with 802.11 b/g/n 2.4 GHz Wi-Fi networks. Storage options include cloud and SD card storage, though some cameras may lack micro SD card support. Cameras can be set up with a stable power supply of DC 5V 1.5A and USB cable charging.
Despite the impressive technological features, setting up these cameras can be cumbersome without proper guidance. This article will provide detailed steps for setting up a Wi-Fi smart cloud camera.
Recommended Steps for How to Set Up a Wi-Fi Smart Cloud Camera

How to Set Up Wi-Fi Smart Cloud Camera – Recommended steps
Step 1. Download the App
Download the application required to set up the smart cloud camera from the Google Play Store or App Store, depending on your device and operating system.
Step 2. Choose the Correct Location
Ensure the Wi-Fi camera is within 6 feet of your router. Connect the power supply to the camera and the outlets.
Step 3. Establish a Connection Between Devices
Build a connection between the smartphone and the Wi-Fi network. Click on the tab for local login.
Step 4. Verifying the Account
Enter your email address and create a new password for the Wi-Fi camera. This step will verify the account. Wait for the entire verification process to complete.
Step 5. Complete the Registration Process
Upon completing the new registration, the application account will notify you of activation. You can then proceed with the setup.
Setting Up the Amazon Cloud Cam – Detailed Steps
To start with the Amazon Cloud Cam, mount the device inside your home in areas you want to monitor. Then, proceed to download the Amazon Cloud Cam application for complete setup.
Step 1. Download the App
Download the Amazon Cloud Cam app from your device’s app store. It is available on phones and tablets running iOS 9.3 or later, Fire OS 5.0 or later, and Android Lollipop 5.0 or later.
Step 2. Set Up Your Account
Follow the on-screen instructions to set up the Amazon Cloud Cam application.
To connect with Wi-Fi and register your device, open the app while the camera is in setup mode, and log in with your Amazon account credentials or create a new one.
Step 3. Create a Connection
Enter the Wi-Fi password to connect the Amazon Cloud Cam to the wireless network.
Step 4. Complete the Setup Process
Complete the setup and monitor the live view, which requires about 30 seconds. You can see the live camera view in the application during this time.
If the camera light blinks yellow, setup is not possible. Insert a paper clip into the pinhole and wait for the green and blue color setting indicator.
To set up additional devices, tap the menu icon to add a camera.
From a supported web browser, the live view will automatically load on the main screen if the Wi-Fi speed is
2 Mbps or higher.
Summing It Up
This guide outlines the steps to set up Wi-Fi smart cloud cameras, enhancing the likelihood of achieving a clear view of your recordings.
See Also
Follow us